It's getting busy
27 February 2020 - FredSo, it’s getting busy now. Not just because the timer until Pi Wars is running out, but there’s simply also a lot going on this time of year - JAMs, travel, and more, oh my! As part of the countdown to Pi Wars, we’re switching to weekly team meetings. This, combined with a lot of sub-projects being completed, means the way we do blogging will be changing. Instead of my long rambling over-view posts, there may be some shorter rambling over-view posts, but the main focus will be what we’re dubbing “mini blog posts”. These will be short entries focussing on specific technical details. I’ve got one planned on line following, Chris has one planned on the motor driver stripboard design, Simon on the algorithms for the Eco-Disaster challenge, etc. Now, on with the update.
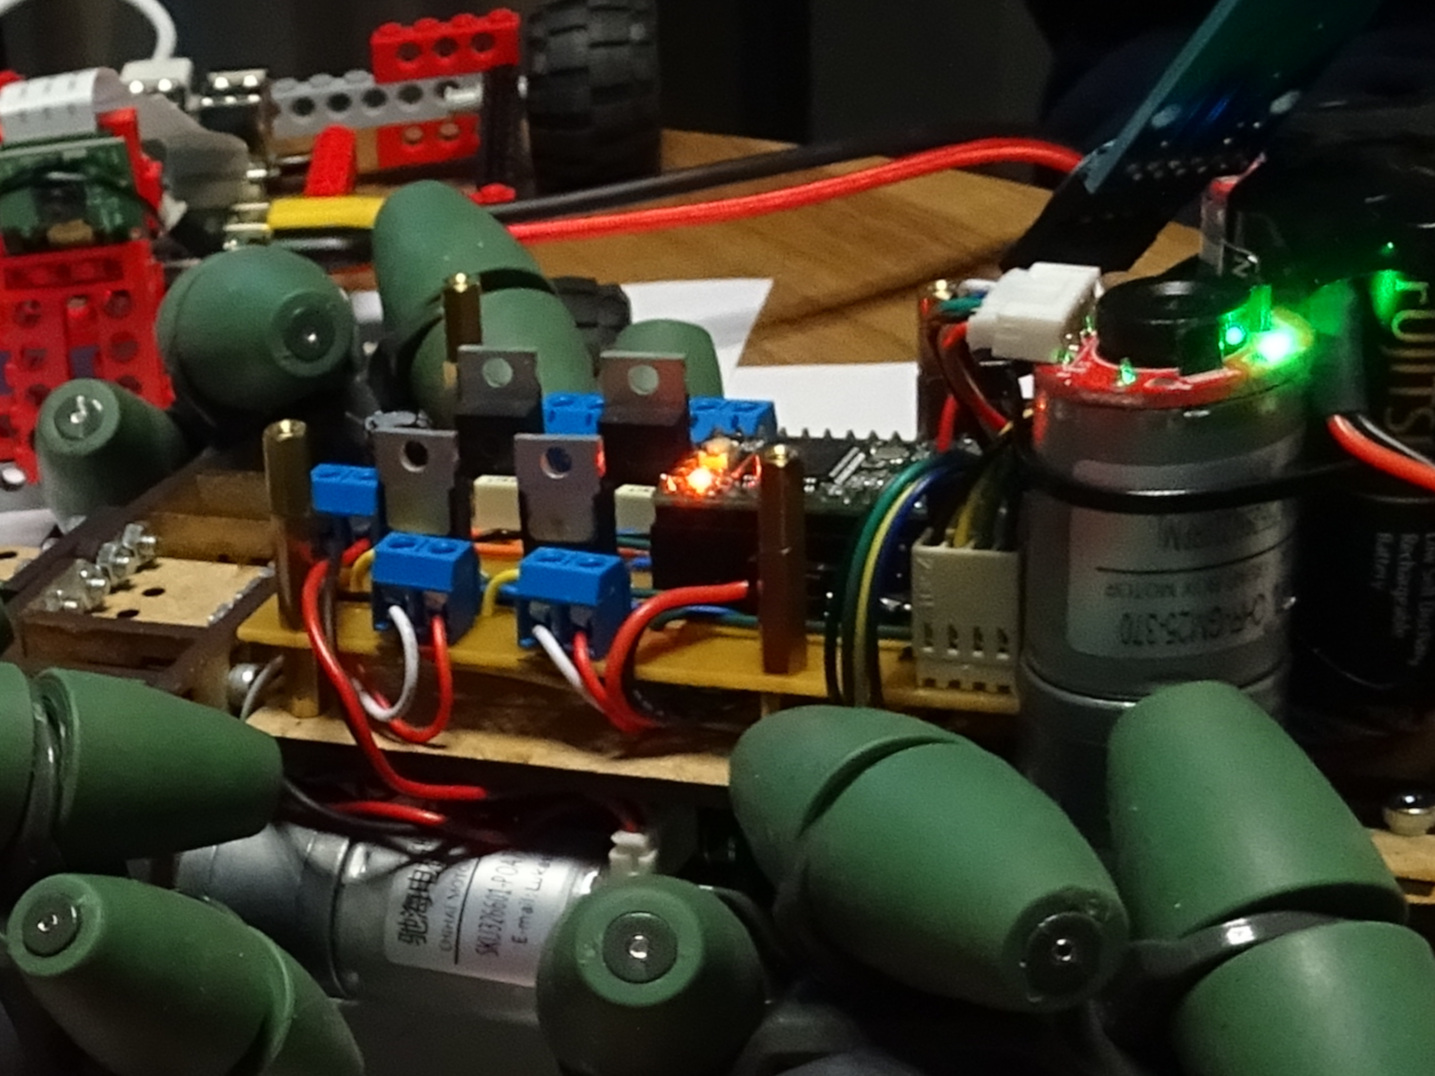
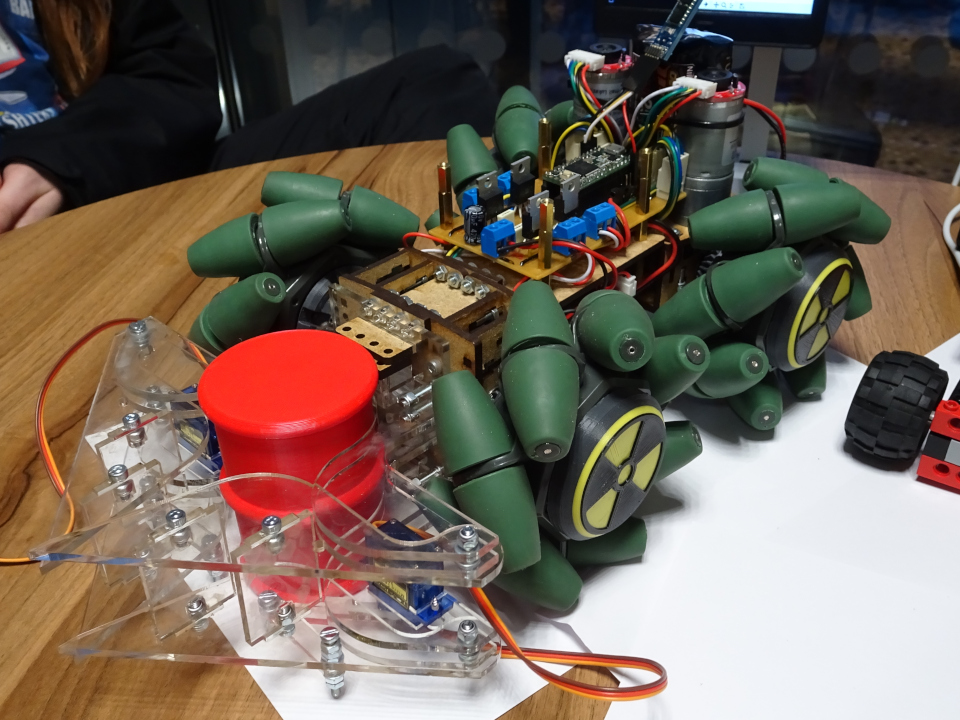
On the hardware side, Chris has finished the stripboard with the motor drivers, it’s shown installed below. This took a bit longer than expected due to issues with loose solder joints. He had no problems though refining the wheel mounts so that they have less wobble. He and Robbie together also got the rear motors mounts redesigned, manufactured, and installed to rotate the rear motors 90 degrees so that the cables no longer point towards the sides of the robot.
Chris’ chassis refinements being complete puts the robot in a state where it now needs power delivery (I.e. a battery), a camera mount, and the Raspberry Pi to be a minimal test platform for software. This is further than we were at our last update, but a little bit behind where we wanted to be. This weekend Chris and Harry are meeting up to get these bits done, including getting the serial communications protocol software coded up so that the Pi can talk to the motors.
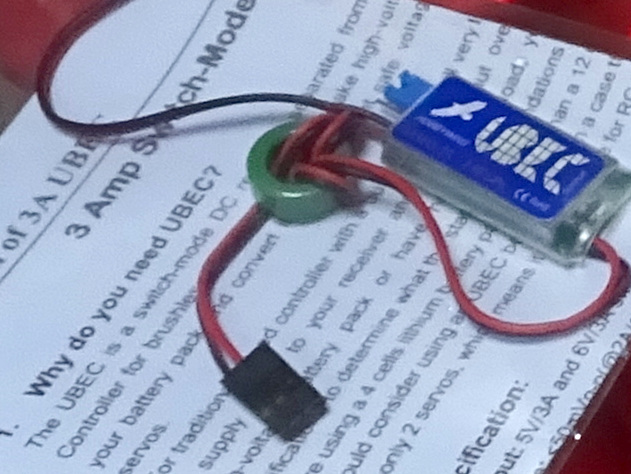
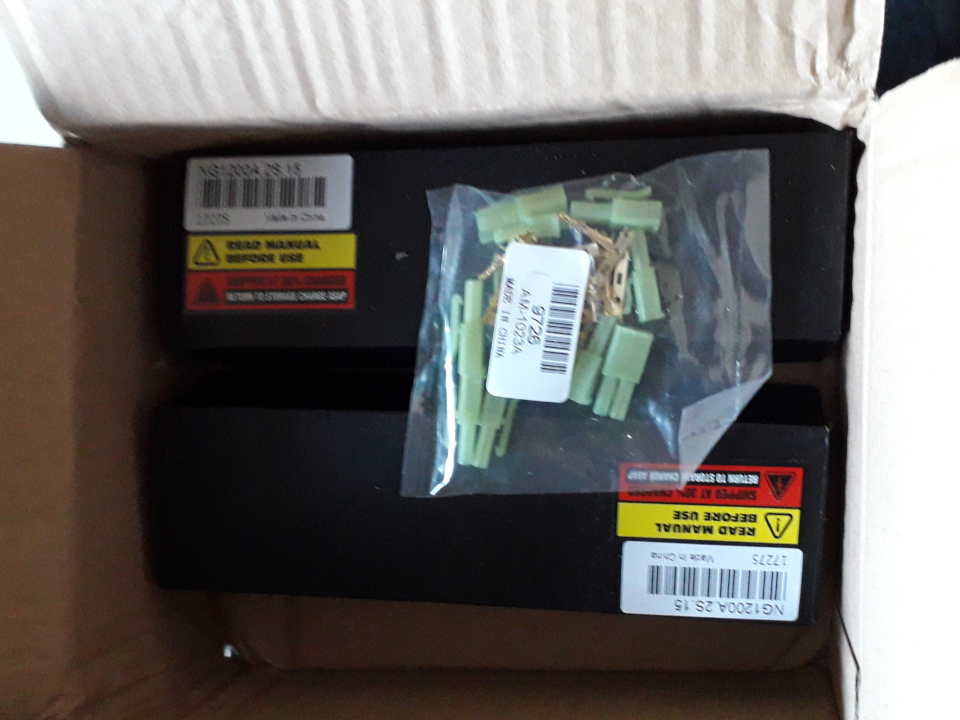
That’s not to say no progress on those missing bits has been made since the last update. Harry has worked out the power plan and connectors needed to power everything, with assistance from Robbie in finding appropriate batteries. After ordering and delivery, we now have UBEC 5V regulator to provide power to the electronics, and some long skinny airsoft batteries to use for power. I think we have two or three batteries so that we can swap them out on the day if needed. At our meeting we also had a short discussion about fuses, which having talked about it, it is definitely a good idea for anything with a decent-sized LiPo battery. We will be having one of them.
Harry’s also been working on the strip-board for and programming of the second I/O Teensy, which if anyone can’t remember, will handle the remote control receiver and the gripper/turret connections. We decided at the outset that using dedicated micro-controllers really was critical to ensure proper signal timing, and hence the two Teensy boards. The spectre of styling is also present on the second Teensy, which will control our lighting effects.
In the last update, I discussed the idea of using a passive gripper to capture barrels. Robbie worked one of these up, but after testing we found there was too high of a risk of tipping the barrels over. As a result, Robbie has done another design miracle and worked up an active gripper - in acrylic no less!
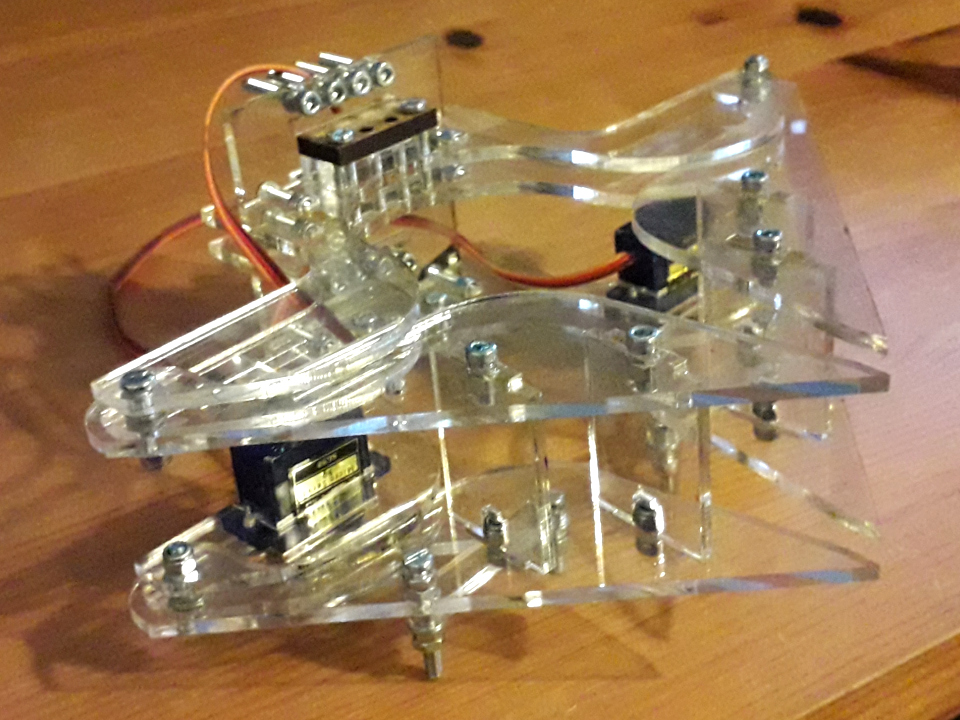
We’re hoping the transparent acrylic will make it easier for the camera to identify when a barrel is caught in the gripper. Next up on the hardware design is the camera mount for which I’ve requested two mounting options. One front mount option in place of the gripper for the line following, and one mount higher up (to see further) for the remaining challenges. You can see me holding the camera roughly in place below. The final piece of major hardware design is the turret. Stay tuned for updates on that, all I know for sure right now is it’ll be shooting Nerf darts.
Following on from my line-following lines in my last long post, I believe I mentioned that I started work using MATLAB - I use MATLAB at work so it’s quick for me to get stuff done with. The process of porting to Python for running with ‘import picamera’ on the Pi was interesting. I’m not really a fan of Matplotlib, but with much googling, I got there in the end. I’m pretty happy with how it worked out and the power of the Raspberry Pi 4. I really am impressed with the latest Pi. Usability has been really good, and my line identification routine is running happily at around 10 frames per second at 1024x768. It looks like the Pi will have enough brute force to avoid having to optimise the Python code, as I can drop resolution for easy speed gains. That’s good news as optimisation can really increase the risk of unanticipated bugs.

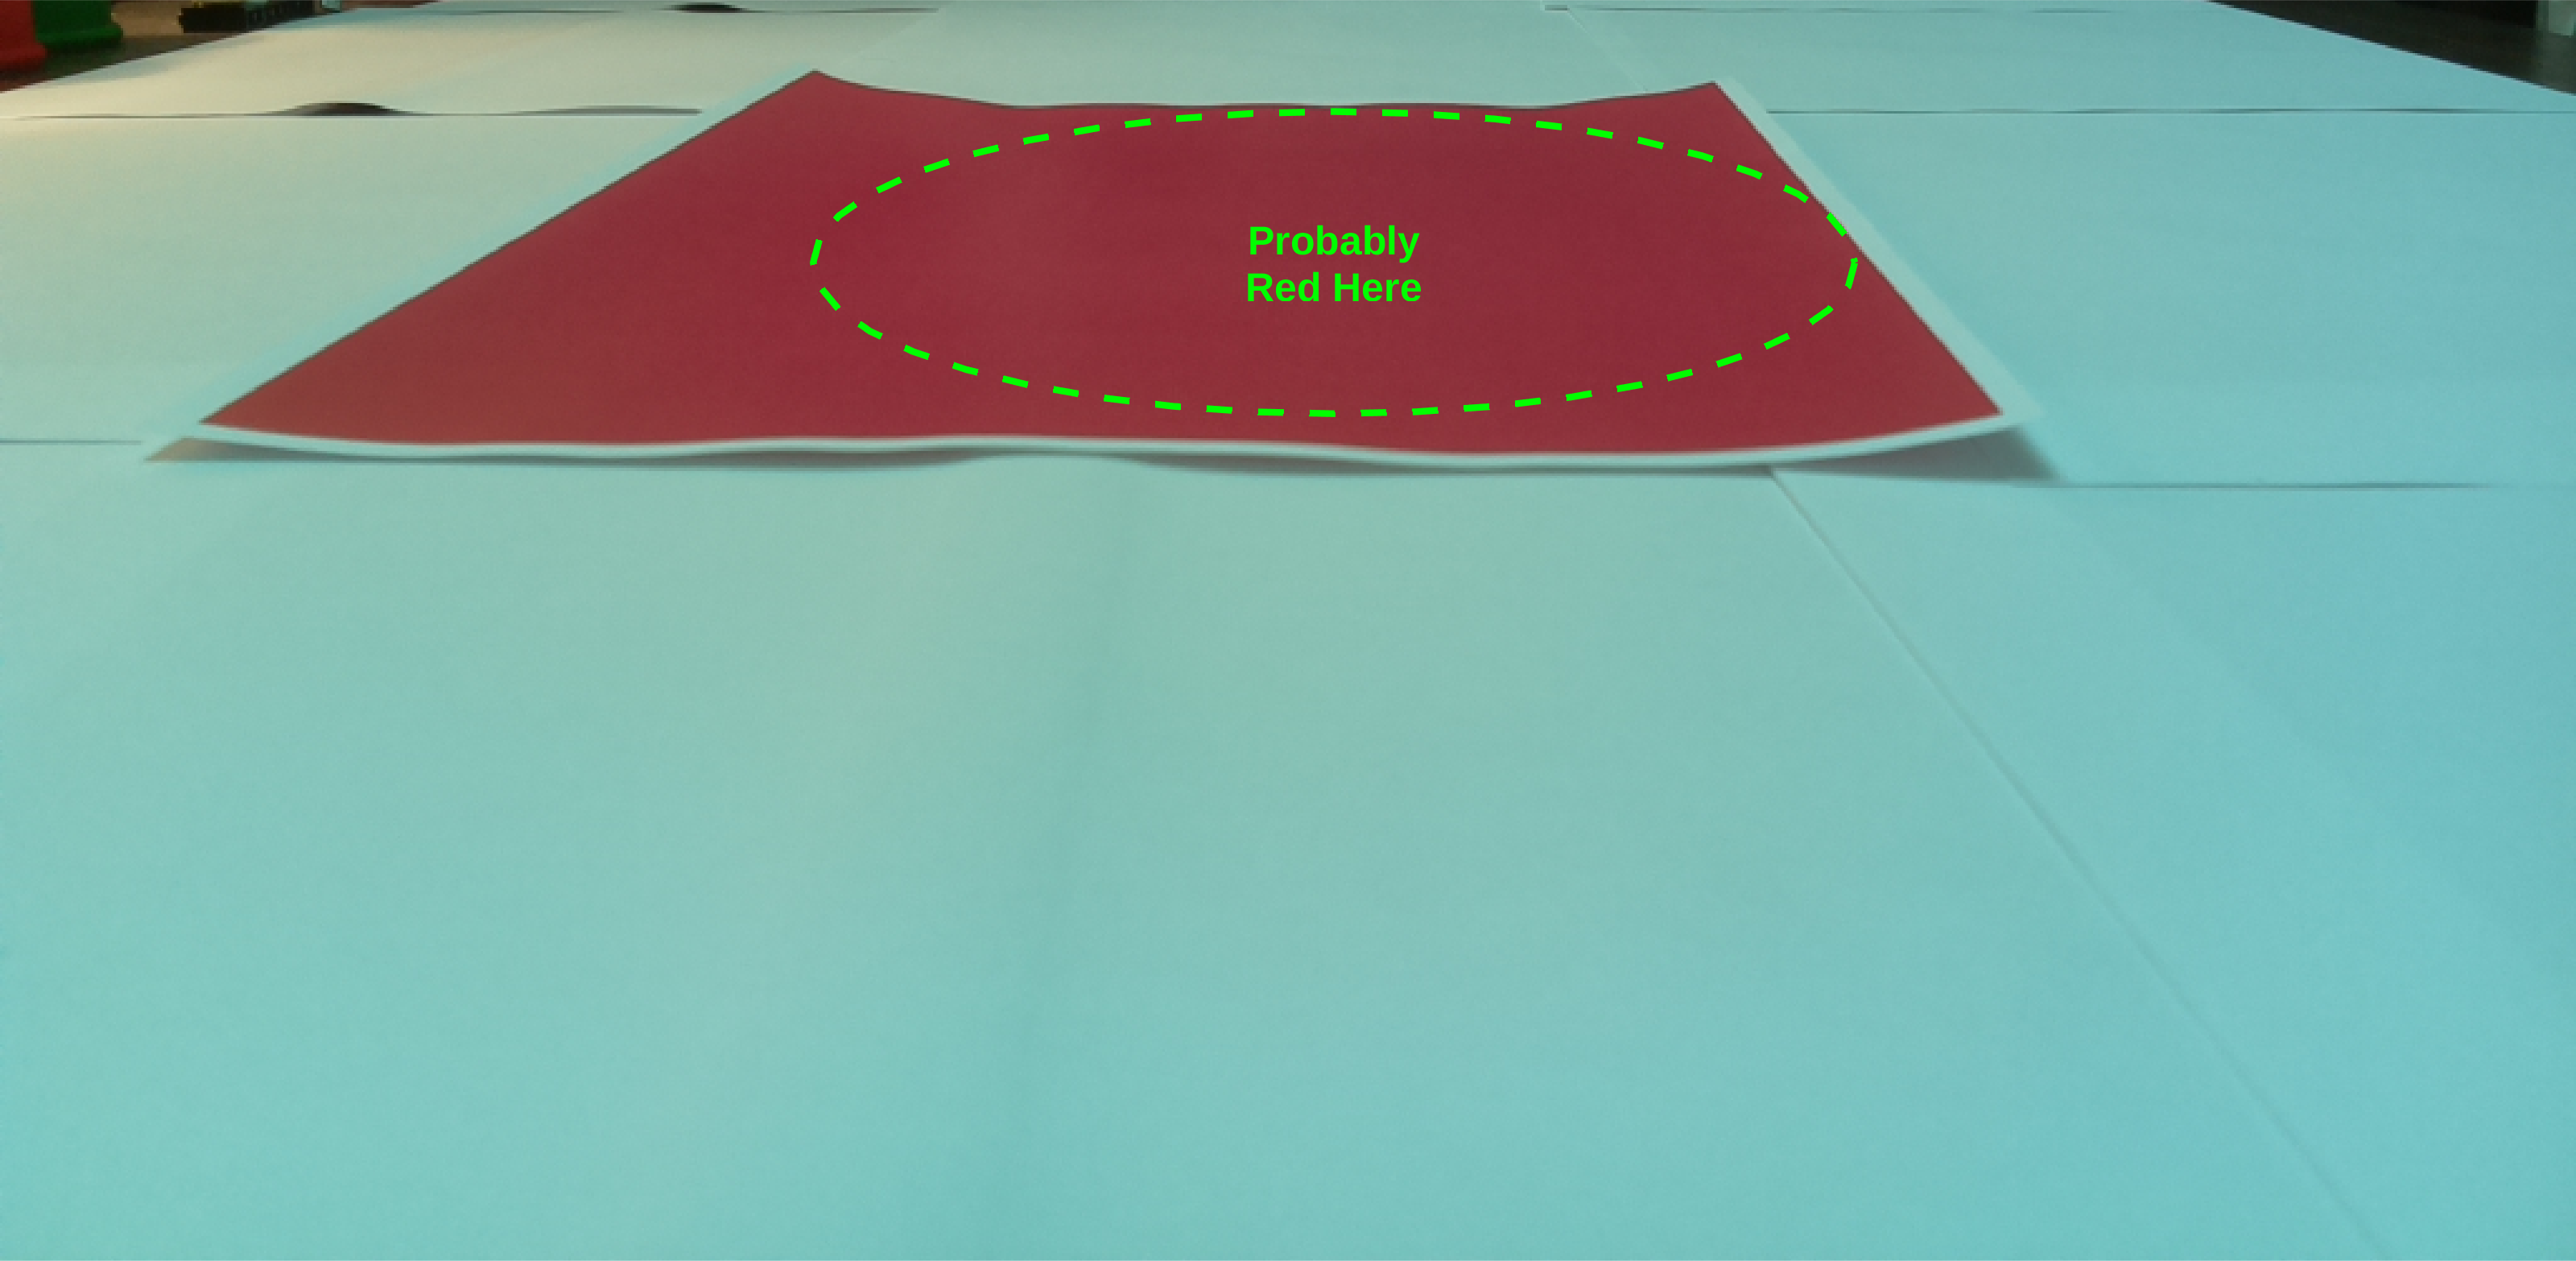
I’ve since started working on a routine to identify a big red splotch for the Minesweeper challenge. This is proving to be a bit more of a challenge, partially due to poor lighting conditions in my room. It’s also a more complex algorithm due to needing to analyse for colour and work in two dimensions (the x- and y-axis). There are a lot more chances for a small error to propagate and mess up the result. In my case, an overall dim image mostly lacking contrast except for one bright spot from a lamp causes serious problems. You can see two examples of the algorithm working and not below. I’m going to leave Minesweeper for a bit until I get a chance to take more test photos under more lighting conditions, and see how the output from Blayze’s 360-degree camera can help. I’ll be starting on code for the maze next. In my current thinking, this will be another 1D problem again.

Speaking of Blayze’s 360 camera, he nearly has a de-warper completed. It’s a rather interesting approach. If I’ve understood him, rather than a typical matrix transform approach, he’s using a ray-tracing type approach. He worked out an equation, using the geometry of the ball-bearing, to calculate where each ray of light reflects relative to the camera lens. Unfortunately, this lacks an analytical solution - even with a fair amount of Wolfram Alpha fiddling! Instead, he’s used a graphics engine to simulate the ray tracing, and from that create a lookup table of where each pixel of the warped image would originate, which can then be applied to produce the de-warped image. I think. More on this from him later, and the code will available in his spherical-360-dewarper GitHub repository.
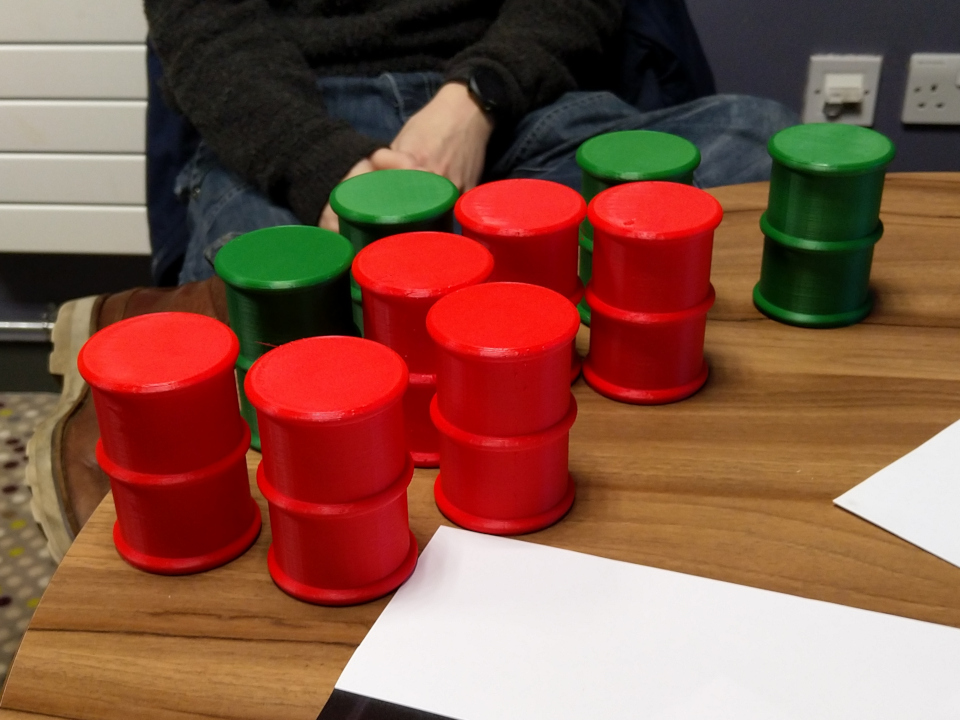
Simon has made some progress addressing the software Eco-Disaster challenge, although it’s a bit Thomas Edison-esque. In the sense that in the process of developing the incandescent lightbulb there were many attempts before success, Simon’s been crossing off things that don’t work. Most noticeably, attempts with PyGraphviz to plan routes around the barrels resulted in collision errors and the robot walking through walls, due to some variety of bug with overlapping geometry if I understood correctly. The plan now is to look into using a moving average of sensor readings to create a heatmap of barrel locations to account for likelihood and imprecision sensor data and then apply an A* library. We’ll be ready to test when the software is ready thanks to Harry printing out a full set of barrels.